26 Feb 2012 - Bare chassis completed
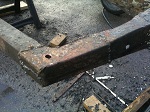
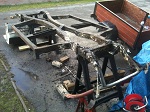
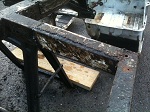
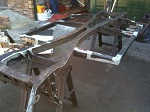
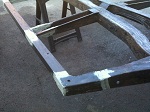
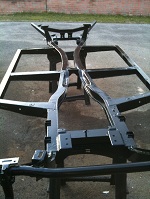
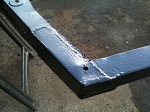
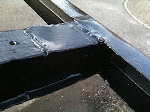
The chassis was a bit rough in places, which is surprising because the top of the car was very solid, so it looks like the usual 'restoration' took place by tarting up the bits you can see and letting the underneath go into disrepair. Whenever I do a restoration I always start with the basics and strip everything down so I can inspect and replace. it takes longer, but the final outcome is a solid, reliable car, that should hopefully last another 50 years! So the welds have now been ground down and the additional patches have been added to repair some bits that were badly done before.
Some would ask why I didn't get the chassis shot-blasted - the answer is I am on a budget! I have some time to spend cleaning it up and since the chassis has had numerous repairs done over the years, it was never going to be concours without all new outriggers and cutting out all the old repairs to shape them better. With this in mind, I wanted to make it strong, and then coat it with plenty of chassis black and then waxoyl - I am so against underseal!!
Anyway, have a look at the finished chassis and I think it is perfectly acceptable, both in what it looks like and its strength. Only the MOT man will ever get to look at it in it's entirety anyway!
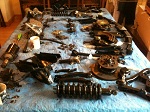
All in all I am pleased with this weekend, and even the wife is happy as the drive got swept and tidied! Which makes up for the fact that the dining room is taken over with car bits, which have now been painted and will be reassembled over the next few weeks.


